
Last updated August 26, 2026
Free on-site gate assessment - hinges, posts, and your LiftMaster or Nice gate operator checked before anything is quoted
The assessment is free and the quote is the invoice.
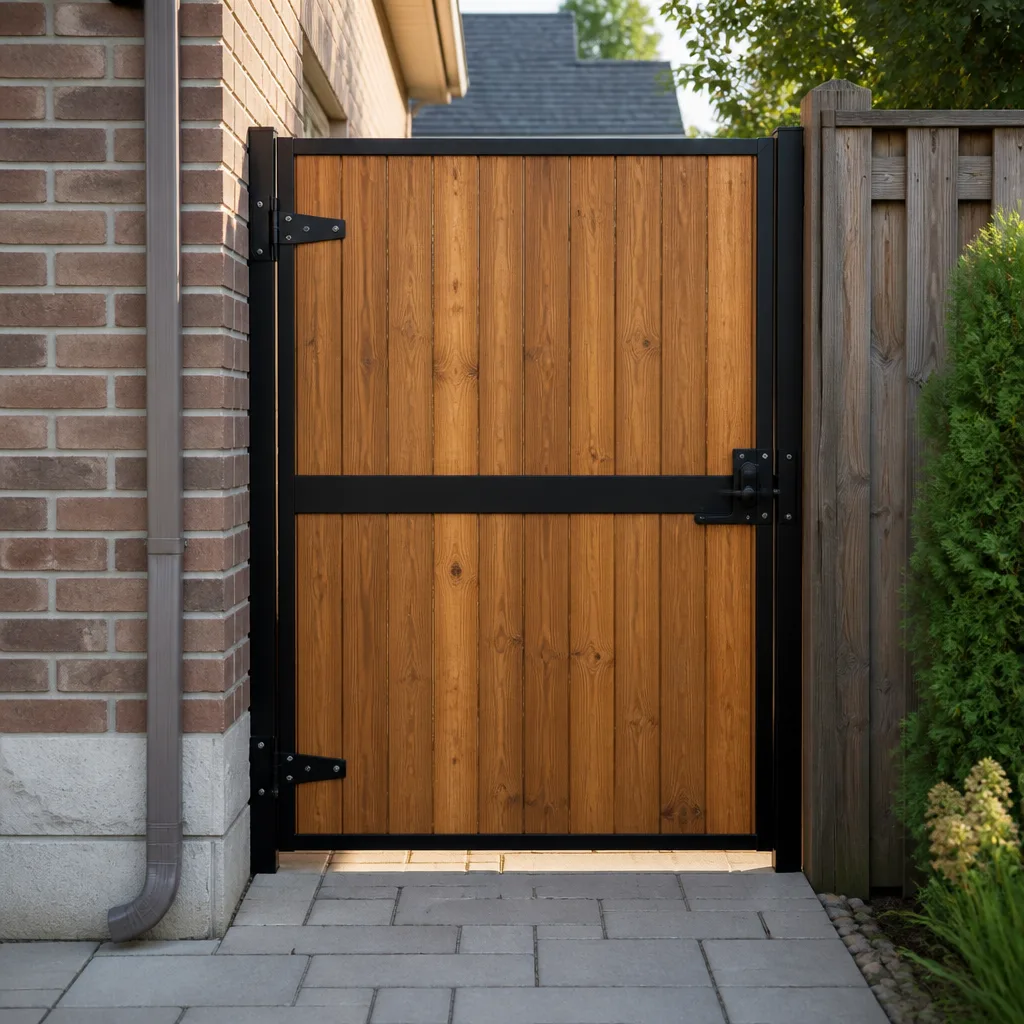
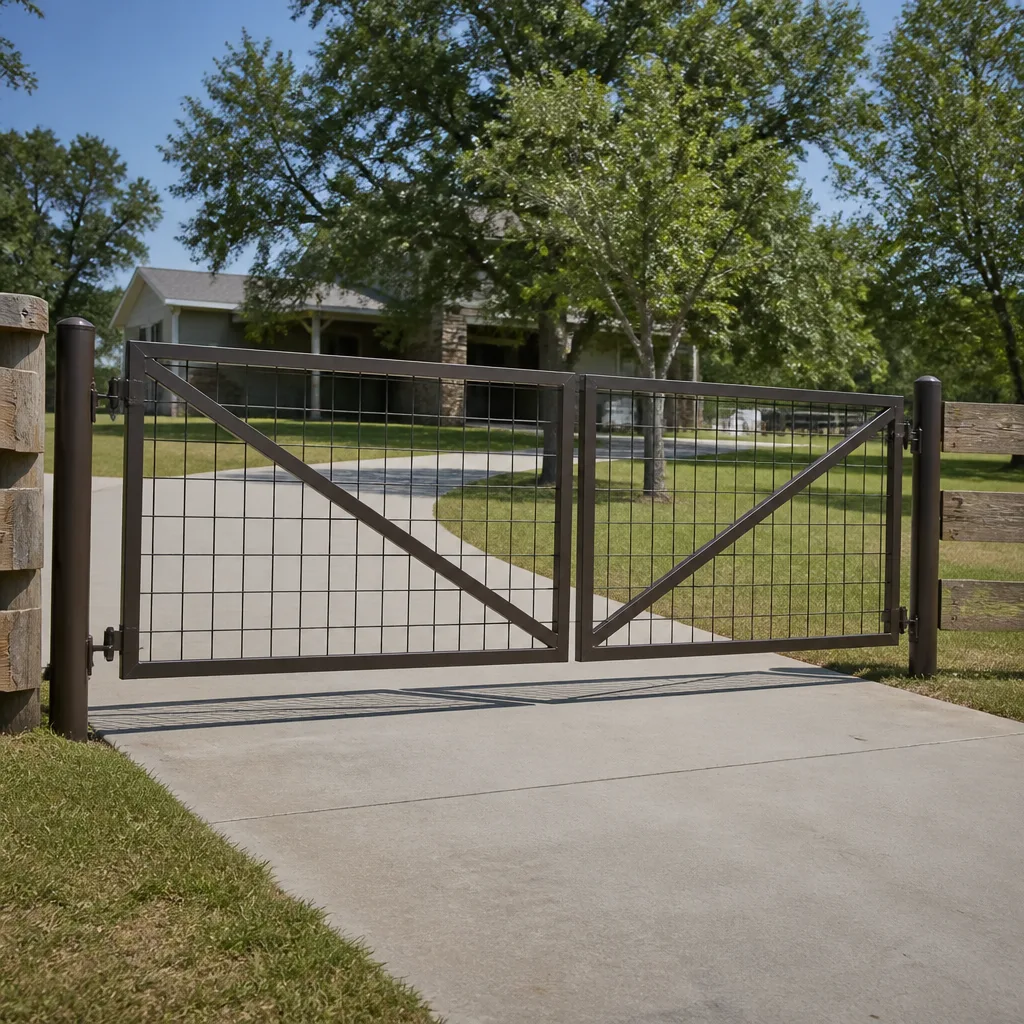
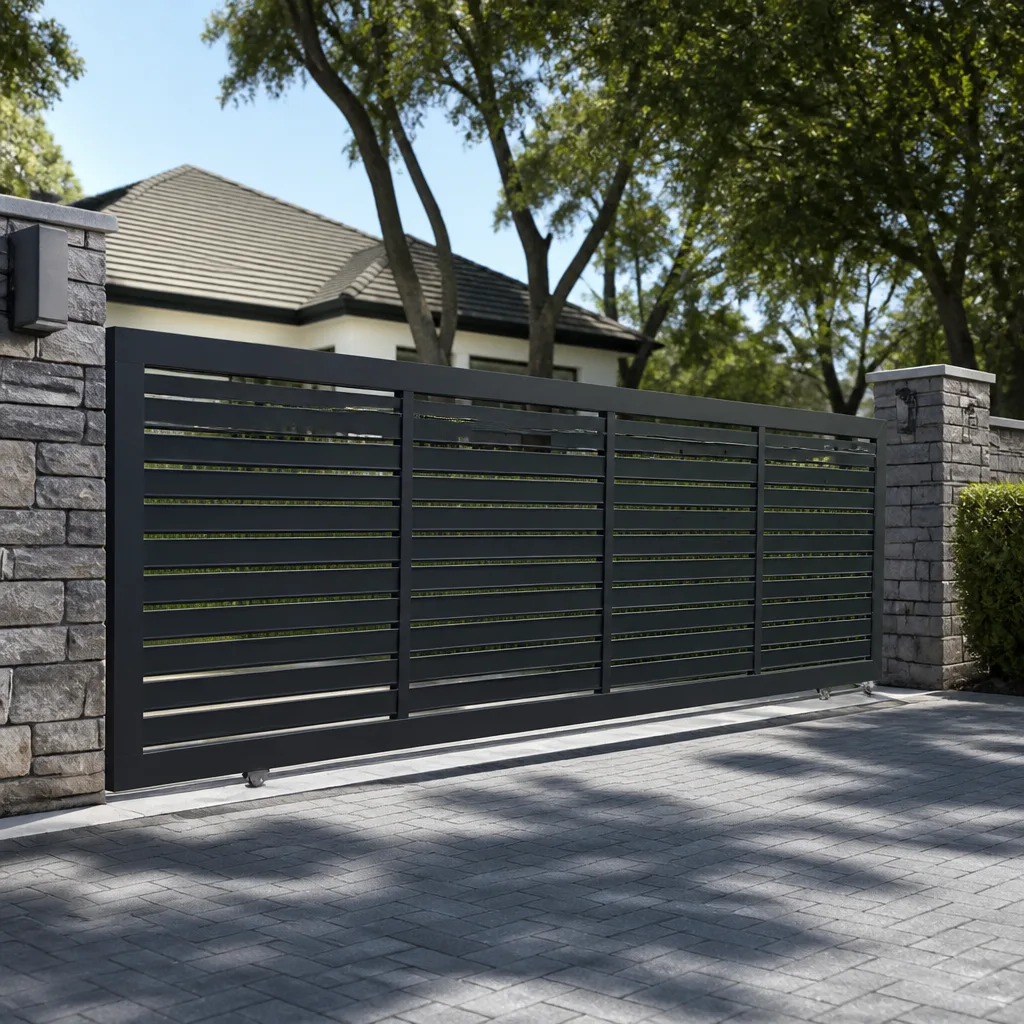
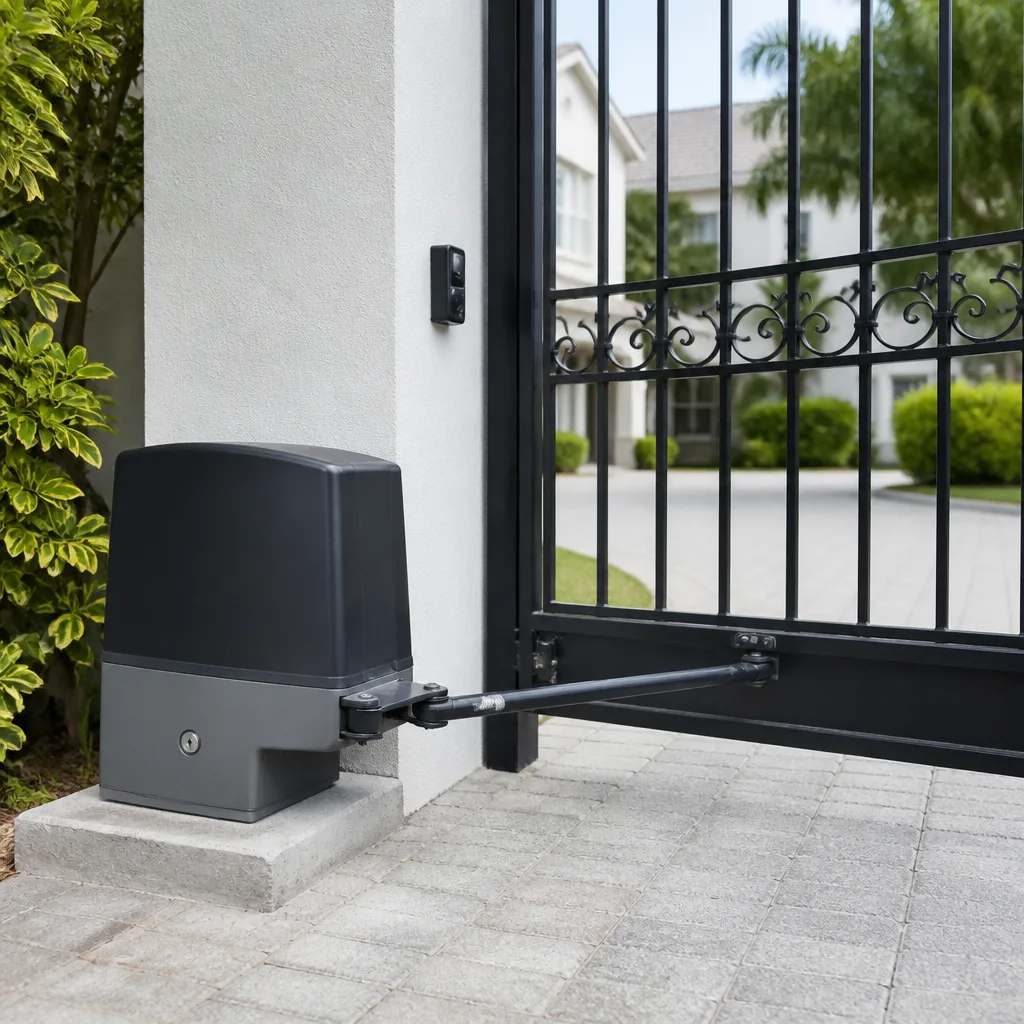
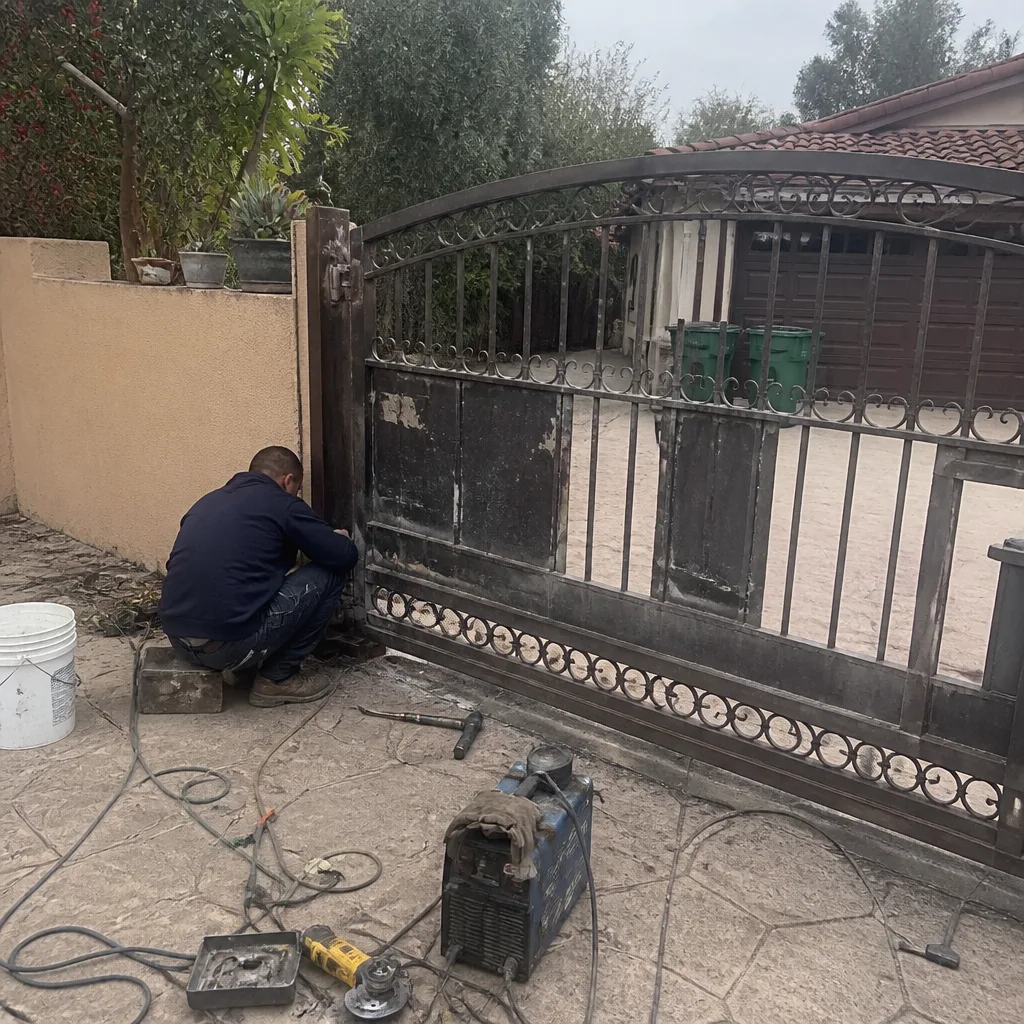 Before
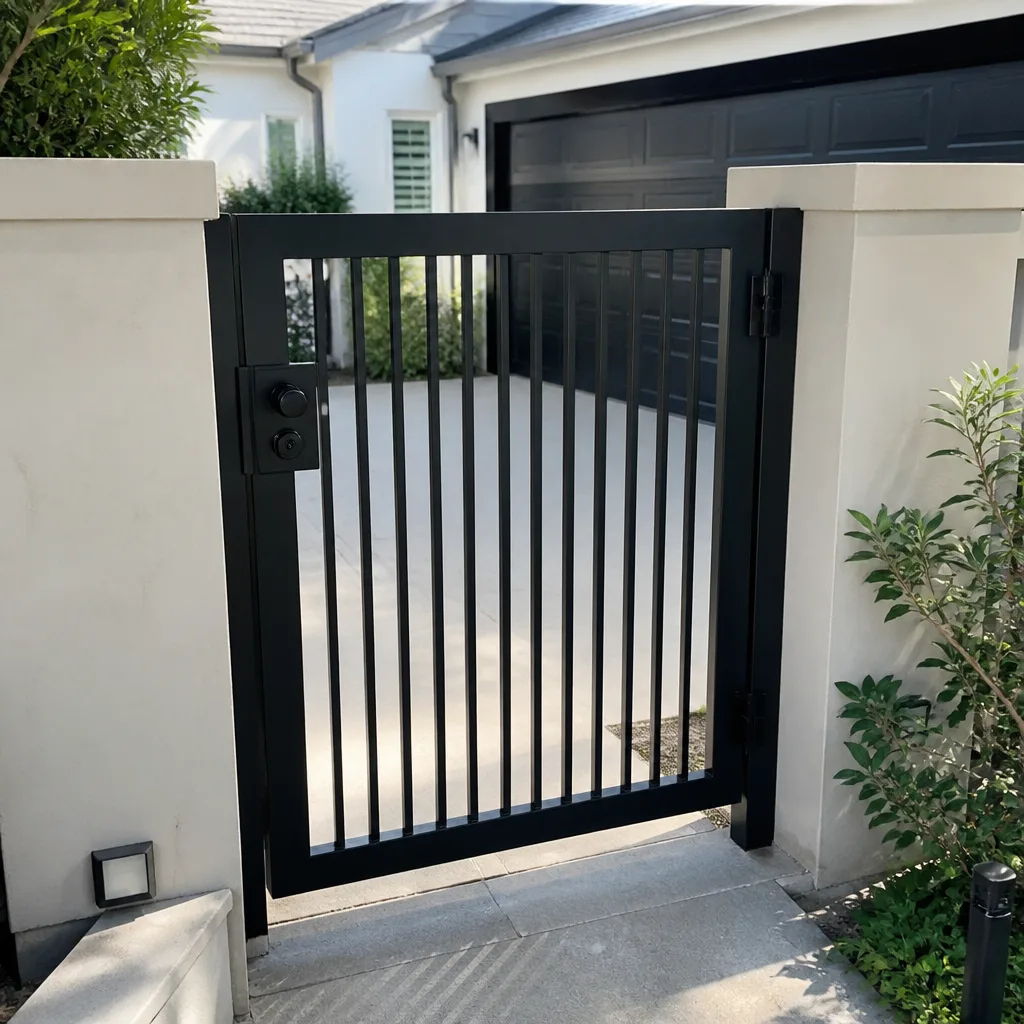 After
After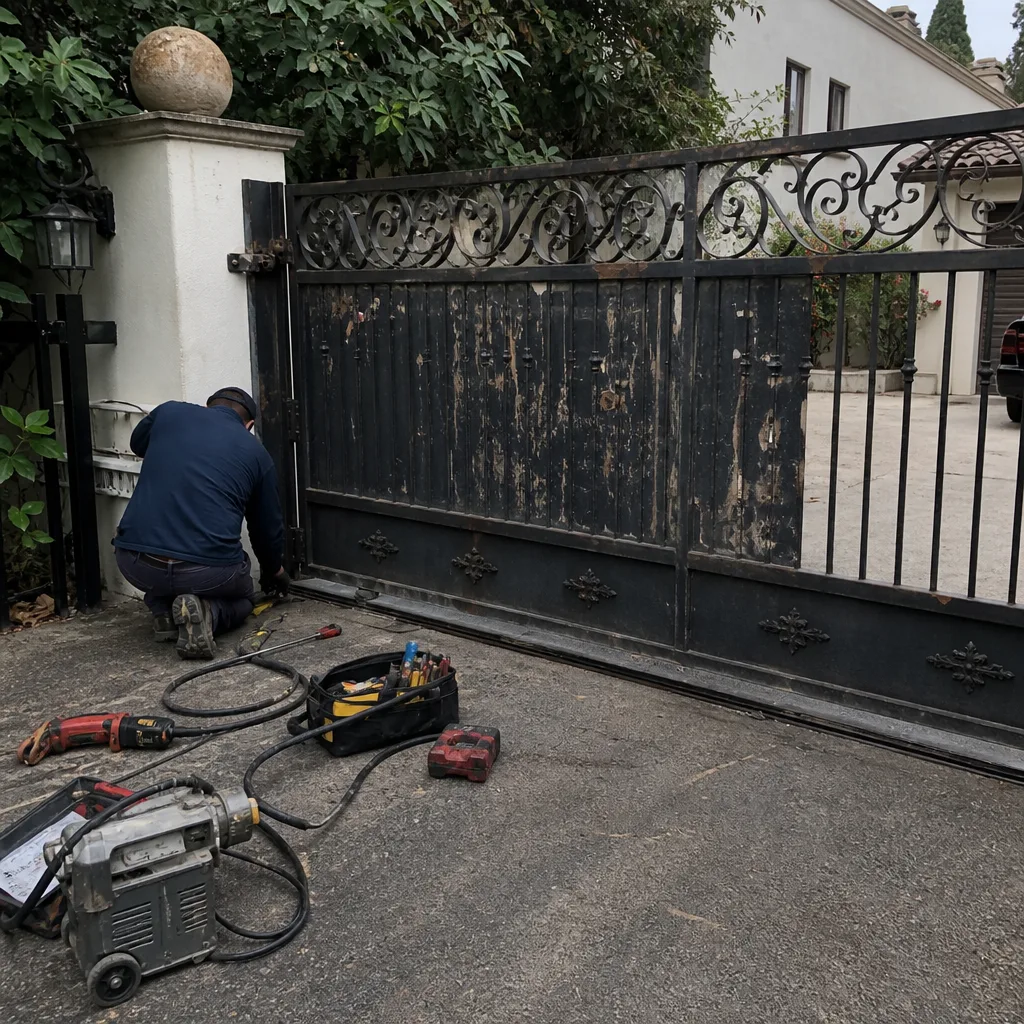 Before
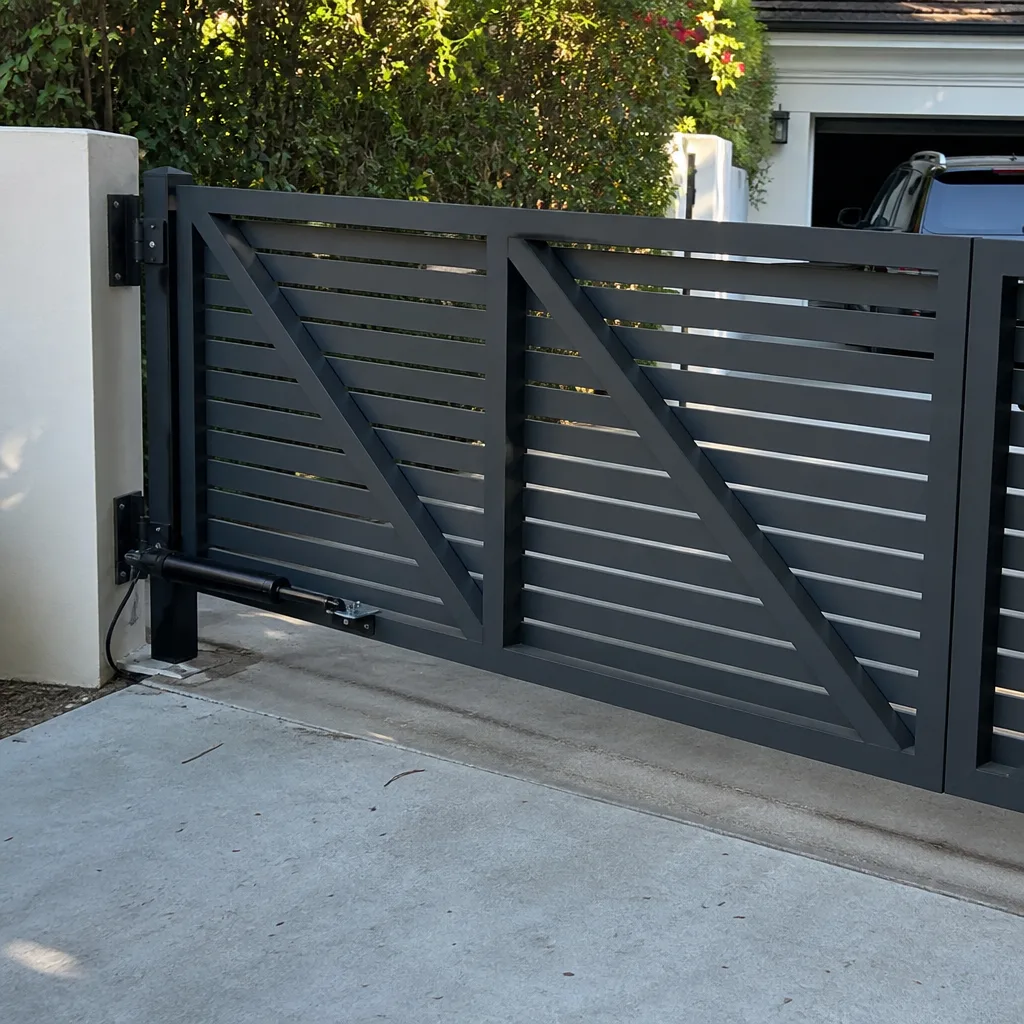 After
After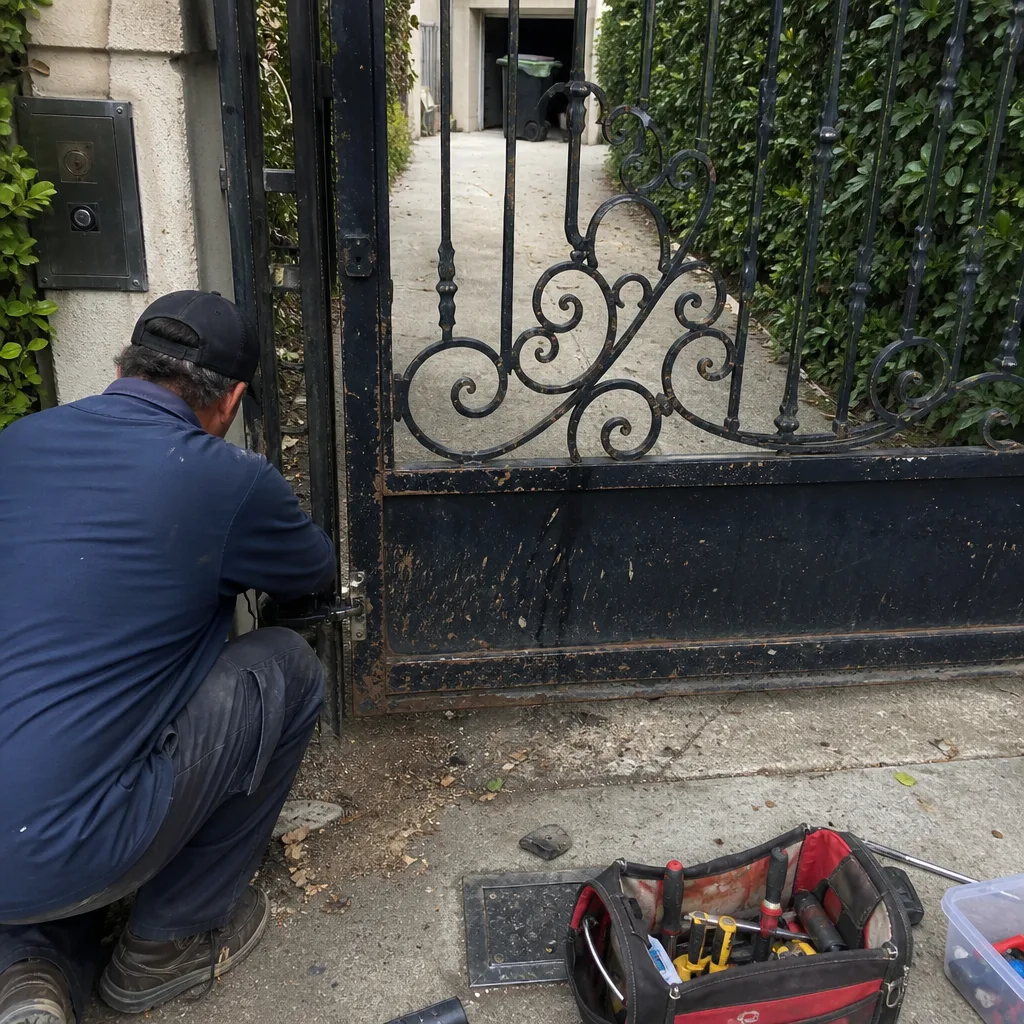 Before
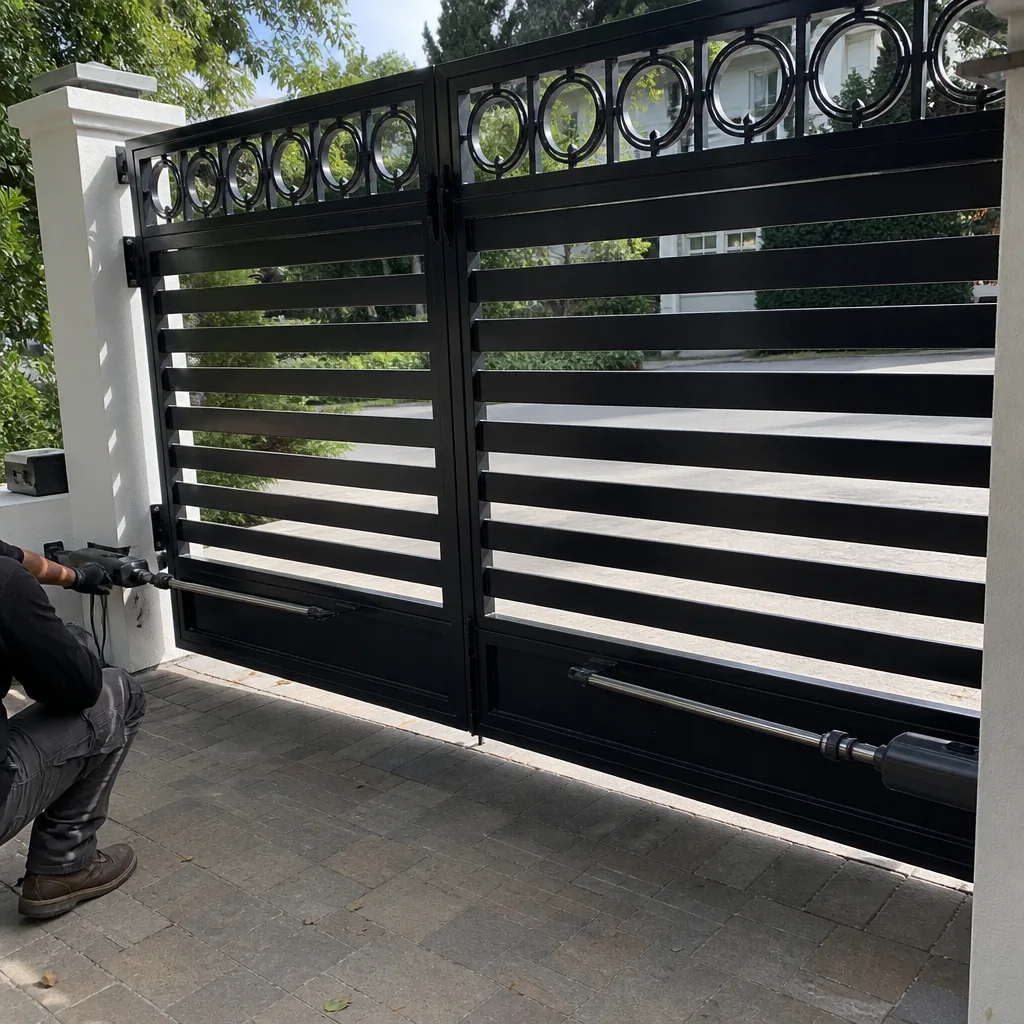 After
AfterDIY vs Professional Gate Repair: The Beverly Hills Homeowner’s Decision Guide
Over the past two decades, we’ve pulled more DIY gate repairs apart than we can count, and the pattern is always the same. The homeowner watched a video, followed it step by step, and still ended up with a gate that sags worse than it did before, a welder that burned through the thin metal, or an opener that now trips the breaker every time it cycles. Here’s the truth nobody in a YouTube comment section tells you: most failed DIY gate jobs in Beverly Hills aren’t caused by a lack of skill. They’re caused by a misunderstanding of which parts of a gate carry load, which parts carry current, and which parts can hurt someone if they’re even slightly off. This guide draws that line clearly, repair type by repair type, so you can make a decision you won’t regret at 11 p.m. on a Sunday.
Quick Answer
Safe DIY gate work in Beverly Hills is limited to cosmetic fixes and simple mechanical adjustments: tightening loose hardware, lubricating hinges, replacing a battery, reprogramming a remote, or clearing leaves out of the gate track. Repairs involving the hinge post, weld integrity, torsion or tension adjustments, operator wiring, capacitor replacement, photo eye alignment, or anything regulated by UL 325 should go to a licensed pro who provides Gate Repair services, because a failed repair on those components can turn a 300-pound gate into a safety and liability problem. A gate sags in the hinge post, not in the middle, and that is where we start.
Table of Contents
- Which Gate Repairs Are Genuinely Safe DIY Territory
- Which Gate Repairs Require a Licensed Pro, No Exception
- UL 325 and Liability: What California Law Means for Your Gate
- How to Diagnose a Gate Problem Accurately Before Calling Anyone
- DIY Maintenance That Actually Extends Gate Life in Beverly Hills
- The Real Cost of a Failed DIY Repair vs. Calling First
- DIY Repairs and Your Operator Warranty: What Voids What
- Common Mistakes to Avoid
- When to Call a Professional
- Frequently Asked Questions
Which Gate Repairs Are Genuinely Safe DIY Territory
We’re not going to tell you that every bolt on your gate is some sacred object that should never be touched. That’s ridiculous, and if a gate company tells you that, they’re either hiding how simple the fix is or hoping you’ll pay them for something your neighbor could handle in one weekend. There is a real list of DIY-safe repairs, and we’ll give it to you straight.
Here’s what you can absolutely do yourself in Beverly Hills if you have basic tools and the patience to work carefully:
- Battery replacement in the remote or keypad: This one is so simple it borders on silly to list. Slide the cover off, note the battery orientation, swap in a new one. If your remote takes a 9-volt, keep a spare in the kitchen drawer. Beverly Hills heat kills batteries faster than average, so if your remote has been sitting in a car that bakes in the San Fernando Valley sun, expect to replace these every one to two years.
- Reprogramming a remote or keypad: Most Mighty Mule, LiftMaster, and FAAC keypads have a Learn button or a simple code input that takes about five minutes. The manual is online. Just don’t open the operator enclosure itself to do this. The Learn button is on the outside of the opener housing, and the manual will show you exactly where it is.
- Tightening loose bolts and hinges: A socket set and some blue thread lock go a long way. The key word here is loose. If the hinge is merely wiggling against the post but the post itself is square, tightening it is a maintenance task, not a repair. If you can move the post by hand, that’s a different problem entirely, and it belongs in the next section.
- Cleaning and lubricating the track, chain, or screw drive: On sliding gates, the track gathers dust, leaf litter, and construction debris faster in Beverly Hills than most people realize, simply because we get so little rain to wash anything away. A clean track with a proper gate grease on the bearings and a dry silicone spray on the track itself can make a surprising difference to how the gate sounds and cycles. Avoid thick axle grease, which clings to sand and turns into an abrasive paste.
- Clearing vegetation and debris: Bougainvillea, ivy, and low branches all grow fast in this climate, and they will crowd a gate and interfere with the photo sensors. You can absolutely trim these back yourself. Just keep the plants clear of the operator arm and the sensor beams, and keep the gate’s full arc of travel clear.
- Testing and wiping down the photo eyes: If your gate starts to reverse for no apparent reason, before you call anyone, check whether the safety sensor lenses are dusty. A soft dry cloth is all you need. Beverly Hills dust, plus the occasional landscaping blowback, will coat those lenses in a film that breaks the beam. Wiping them is genuinely safe, and it fixes the intermittent reverse maybe two times out of ten. Those are decent odds for a two-minute fix.
The line is this: if the task doesn’t involve taking weight off the gate, cutting or joining metal, or moving electricity, it’s probably in the DIY-safe bucket. If the gate will not physically do what you’re asking it to do without lifting, prying, cutting, welding, or rewiring, that’s the bucket that needs a professional. A Beverly Hills homeowner who successfully programs their own gate remote and one who replaces their own hinge pin are doing completely different things risk-wise, and this guide exists to explain why the second one can go badly wrong in ways the first one simply can’t.
Which Gate Repairs Require a Licensed Pro, No Exception
Now let’s draw the line on the other side. These are the jobs we genuinely mean when we say call someone who does this every week. These aren’t skill-level recommendations. They are safety-level ones.
Here is the no-hedging list:
- Any repair involving the hinge post. The hinge post is the post the gate swings on, and it bears the entire weight of the gate leaf, plus the dynamic load of that leaf swinging. If the hinge post has rotted at the base, cracked from a car bump, or started to lean, the gate is now a lever that is slowly tearing itself apart. Welding a gusset onto the face of a rotted post doesn’t fix the rot below grade. Cutting the post out and setting a new one, or welding a heavy-duty repair bracket into solid steel, is a structural job. A gate sags in the hinge post, not in the middle, and that is where we start.
- Any weld failure on the gate frame, gate panel, or hinge. This is the one people assume they can learn from one video. What the video doesn’t show is what happens when you weld a rusty, powder-coated gate with a 110-volt flux-core welder from the hardware store. Those little welders are fine for light brackets, but a gate panel carries load, and a weld that fails under that load can send a hundred-plus pounds of metal off its track or off its hinges. On-site welding with the right machine and the right filler is the difference between a repair that lasts and one that lets go.
- Operator motor replacement, capacitor replacement, or any work that involves opening the operator cabinet and touching internal wiring. A gate operator holds a capacitor that carries enough stored voltage to put you on the ground. If you don’t know how to discharge it safely, don’t open the enclosure. It really is that simple. Our crew services LiftMaster, FAAC, BFT, and Mighty Mule operators in Beverly Hills every week, and the manufacturers all have the same warning labels on the inside of the cabinet. Those labels are not suggestions.
- Any repair to the gate’s safety edges, photo sensor system, or entrapment protection. If your gate does not have working entrapment protection and it closes on a child, a pet, or a delivery driver, you are the one who made the decision to operate an unsafe gate. That’s not an exaggeration. That’s the UL 325 standard we’ll cover below. This one is not optional.
- Torsion spring adjustments on any gate that uses them. A torsion spring under load carries enough energy to break bones or worse. Never, ever attempt to wind or unwind one without the correct bars and a lot of experience. We mean this as strongly as this entire guide says anything.
If you’re looking at a repair in any of those five categories, this is the part where a gate repair company in Beverly Hills is not being dramatic when they decline to walk you through it over the phone. We decline for the same reason an electrician won’t teach you to replace a panel in one call: someone gets hurt, and the person who gave the advice carries that.
UL 325 and Liability: What California Law Means for Your Gate
When we talk about automated gate safety, we’re talking about UL 325, the standard that governs automatic gate operators in the United States. Every residential gate operator sold in California must comply with it, and your gate’s legal installation requires functioning entrapment protection, which in plain English means at least two independent safety devices. That’s typically a pair of photo eyes, plus a reversing edge or a non-contact sensor that will stop the gate if something is in the way.
Here’s what few DIY sites will tell you: in California, an unpermitted, non-compliant DIY repair on an automatic gate doesn’t just create a malfunction. It creates liability. If your gate injures someone because you replaced the operator yourself, wired around a failing photo eye, or disconnected the reversing edge because it was “too sensitive,” you are not protected by the manufacturer’s compliance documentation. Your homeowner’s insurance may not protect you either, because they will reasonably ask whether a licensed professional installed and maintained the system. You will be answering questions under oath about a repair you made from a video.
We’re not saying this to scare you into a service call. We’re saying it because every other guide on this topic skips it, and skipping it is how homeowners end up in depositions. The Beverly Hills neighborhoods we work in are full of automatic gates on long driveways, and those driveways see delivery drivers, landscapers, utility workers, and kids on bikes. The gate has to stop when it hits or senses something. There is no “close enough” with entrapment protection.
If the operator on your gate is older than about 2015, and you’ve been meaning to check whether it still meets the current standard, that’s a conversation worth having. You can find the UL 325 label on the operator housing, and a gate motor and opener specialist in Beverly Hills can test the system and tell you exactly what’s compliant and what’s not before anyone gets hurt.
How to Diagnose a Gate Problem Accurately Before Calling Anyone
You do not need to open an operator cabinet to diagnose what’s wrong with your gate. In fact, we’d rather you didn’t. What you need is to observe, test the obvious, and then write down what you saw. A good diagnosis saves you money on the service call, because it means the person who shows up knows what parts to bring and how much time to book.
Here’s a step-by-step that gives you a genuinely useful starting point without voiding your warranty or touching anything dangerous:
- Start with the battery and the remote. Stand at the gate and press the remote. Watch the operator. Does the LED blink or flash? Does the operator hum but not move? Does it do nothing at all? A flashing LED that doesn’t cycle usually points to a sensor issue. A hum with no movement points to a mechanical bind. A completely dead panel points to power or a bad board. All three are very different problems, and knowing which one you have changes the repair.
- Check for obstruction. Walk the entire gate path, both directions. Look for a branch, a rock, a chunk of debris in the track. If the gate stops at the same point every time and reverses, there is something in the path or a sensor that’s been knocked out of alignment. If it stops at a different point every time, that’s a different problem. Watch it three times. Patterns matter.
- Look at the hinges and the post while the gate is moving. Put your hand on the hinge post while someone else operates the gate. You should not feel the post rock or shift. If you see the gate leaf lift as it opens, or if the gap between the gate and the post changes during the swing, your problem is in the hinge or the post, not the operator. The operator is just the messenger.
- Listen. A grinding metal-on-metal sound is a lubrication or bearing issue. A rapid clicking from the operator but no movement is usually a capacitor or a gear failure. A thump when the gate reaches the fully open or closed position is a limit-switch issue. Write down the sound you hear. It matters more than most people realize.
- Check the power source. If the gate is dead, verify that the breaker hasn’t tripped and that the outlet the operator plugs into is getting power. It sounds obvious, but a surprising number of “broken operators” in Beverly Hills are actually tripped GFCI outlets, especially on older homes where the gate circuit shares a GFCI with the outdoor lighting or the pool equipment.
Once you know whether the problem is mechanical, electrical, or sensor-related, your phone call changes from “my gate’s broken, I don’t know what’s wrong” to “my gate hums but won’t cycle, and the hinges look fine.” That second call gets a straighter answer and a more accurate quote, and it tells the person on the other end that you know your gate better than most. A good Gatewood Fence & Gate home technician can work with that.
DIY Maintenance That Actually Extends Gate Life in Beverly Hills
Most of what extends a gate’s life is boring, repetitive, and takes ten minutes a month. It doesn’t require parts. It requires attention. For Gate Repair Maintenance Checklist for Beverly Hills Homeowners, see our dedicated guide. The trouble is that in a climate like Beverly Hills, where the weather year-round is mild and it almost never snows, homeowners forget that gates still age. Sunshine, the thing we’re famous for, is actually one of the worst things for gate components. UV breaks down powder coating. Heat breaks down lubricants. Dry air and wind carry dust that works its way into bearings and sensors.
Here’s what we tell every homeowner to do, month in and month out:
- Lubricate the hinges and rollers monthly. Use a dry silicone spray or a dedicated gate lube, not WD-40, which evaporates and leaves metal unprotected. In a hot, dry climate like ours, hinges with no lubricant will start to grind and then wear. The gate gets louder first, then it binds, then it breaks. The lubricant is the cheapest repair there is.
- Keep the track clear. On a sliding gate, the track in the driveway is the first place everything goes: leaves from the sycamores, sand from the hills, bits of concrete from the driveway itself. Sweep it out, blow it out with a leaf blower, and check the track for dents or bends. A smooth track is what keeps the gate rolling square.
- Check the pinch points and the safety edges. Run your hand along the bottom edge of the gate while it’s closed. You’re feeling for gaps, tears, or areas where the reversing edge has pulled away from the gate. A gap in a safety edge means the edge might not trigger. That’s an entrapment risk, and it’s one of the few things worth calling about even if the gate “still works.”
- Watch the gate’s travel pattern. If the gate’s path shifts even an inch over a few weeks, mark it and watch it. Gates don’t drift for no reason. They drift because a component is wearing or shifting. Catching it early means a small adjustment, not a replacement.
- Check the operator’s warning stickers and labels. They fade, peel, and get painted over. California requires entrapment warning signs on automatic gates, and if yours are gone, replacing the sticker is cheap and keeps you on the right side of the law.
Maintenance tasks like these genuinely extend gate life in this climate, but they create a false sense of security if the gate has a structural issue that lubrication can’t fix. Soap and water keep a car looking good, but they don’t fix a cracked frame. The same logic applies to your gate.
The Real Cost of a Failed DIY Repair vs. Calling First
We’ve seen the numbers enough times that we can give you a direct cost comparison. For full details, see our Gate Repair Cost Breakdown: The Beverly Hills Homeowner’s Reference for 2026. In the Beverly Hills market right now, here’s what a DIY hinge repair attempt that goes sideways actually costs versus what calling a professional first would have cost in the first place.
Scenario A: The DIY hinge fix.
- You notice the gate sagging. You watch a video, buy a new hinge pin, a cheap grinder, and a hardware-store welder that’s on sale. Total outlay: $300 to $450 in tools and parts.
- You cut the old hinge off, but the hinge post has rot at the base that you didn’t find until the hinge was already in pieces. Now the gate is on the driveway, and you can’t get your car out.
- You call a gate company for an emergency repair. The professional has to cut the old hinge remnants off cleanly, prep the post, add a structural repair plate, weld the new hinge in place, rehang the gate, and square it. You pay for the repair plus an emergency rate because your gate is blocking the driveway and you need it fixed today. Total: $600 to $1,100 out of pocket on the professional fix, on top of the $300 to $450 you already spent.
Scenario B: Calling a professional first.
- Same sagging gate. You call Gate Installation in Beverly Hills to schedule a diagnostic visit. The professional shows up, finds the same rot at the hinge post base, and tells you the repair will cost $350 to $600, parts and labor included, before any discount.
- The whole job takes one visit. You have a written price before any work starts. No emergency rate because the gate never hit the ground. The repair carries a 90-Day Done Right Promise.
- Total: $350 to $600.
The gap between those two paths isn’t small, and it only widens when the repair involves an operator or a safety system. A DIY operator board replacement that’s wired incorrectly can take out the transformer, the capacitor, and the board itself, turning a $250 repair into a $900 one. We’re not saying this because it makes a good story. We’re saying it because it’s the math we’ve seen play out in driveways all over this city.
A note on the kind of pricing you should expect from a legitimate shop in Beverly Hills: a hinge repair might run $150 to $400, a hinge post replacement $400 to $900, a capacitor or limit switch replacement $150 to $300, and a new operator board $250 to $600. Those are broad numbers because gates and operators vary enormously by weight, brand, and age, but they give you a sane range to work from. The price should be quoted and agreed upon before any work starts, in writing, with no surprises at the door. If a company won’t do that, call a different one.
We also carry standing offers that make the first call easier: $40 off any repair over $200, no trip charge inside the county, a free second opinion on any written estimate you’ve already received, and a permanent 10% discount for seniors and veterans. Those aren’t gimmicks. They’re the way we’ve done business since 2001, and they’re on the invoice.
DIY Repairs and Your Operator Warranty: What Voids What
Before you touch anything electrical, there’s a question you should ask yourself: is this gate operator still under warranty? If the answer is yes, or even maybe, some DIY work is enough to wipe that warranty out entirely.
What voids a warranty is usually not the act of adjusting something outside the enclosure. Opening the operator cabinet to change a fuse, check a connection, or replace a board is where most homeowners stumble. The manufacturers, and we work on LiftMaster, FAAC, BFT, and Mighty Mule every week, include tamper-evident or warranty-language clauses that tie coverage to installation and service by a qualified professional. If a board fails and the manufacturer or their servicer sees evidence that the cabinet was opened by someone who isn’t a licensed gate technician, your warranty claim is dead.
It’s not a scam. It’s risk transfer. The manufacturer knows a properly trained person will install the board the way the schematic says and test the safety system before buttoning it up. They have no way to verify what a homeowner did inside the cabinet, so they default to denying the claim.
Here’s the practical takeaway: if your operator is within its warranty period, treat any internal work as a warranty call, not a DIY project. The repair is often covered, and even when it isn’t, a professional’s work keeps the remainder of the warranty alive. If your operator is long out of warranty, the financial calculation shifts, but the safety and liability concerns we covered above don’t move. The UL 325 standard applies whether the unit is brand new or fifteen years old.
Common Mistakes to Avoid
- Lifting the gate off its hinges without supporting the weight. A gate that looks light is still often 200 to 300 pounds, and once it comes off, it wants to come down fast. Crushed fingers and broken toes are the most common gate injury we hear about from DIY attempts, and they’re preventable with one support stand and a second pair of hands.
- Using WD-40 on a gate chain or screw drive. It dissolves the existing lubricant, evaporates, and leaves the metal dry and exposed. In Beverly Hills heat, that accelerates wear. Use a product designed for gate drives or a dry silicone.
- Welding a rusty gate without prepping the metal. You can’t weld through rust, paint, or powder coat. Your weld will look decent and fail under load. The proper preparation, grinding to clean bare metal, is the part the videos always skip.
- Tightening the bolt on a sagging hinge without checking the post. You can crank a bolt so tight it strips, and the gate will still sag because the post is moving at the base. The bolt wasn’t the problem. The post was.
- Disconnecting or bypassing a photo eye that “keeps making the gate reverse.” That photo eye is probably doing exactly what it’s supposed to do, sensing something you can’t see, or it’s misaligned and needs a five-minute adjustment. Disconnecting it is not a repair. It’s an act of risk.
- Ignoring a gate that’s gotten louder over the last six months. Gates rarely fail silently. They grind, squeal, and thump for weeks first. The sound is the early warning system. The people who fix it at the squeak stage pay a fraction of what the people who fix it at the broken stage pay.
- Applying household paint to a powder-coated gate to hide rust. The paint doesn’t stop the rust, it just covers it, and in a climate with as much sun as ours, the temperature swings make the rust spread underneath the paint. The gate looks fine for a year, then the rust blooms through. Treat the rust first, then paint.
When to Call a Professional
The decision tree is simpler than most people want it to be. If you can see the problem, it involves no electricity, and the fix doesn’t require lifting the gate or cutting metal, it’s probably a Saturday project. If the problem is hidden inside the operator, involves the load-bearing parts of the gate, or has anything to do with the safety system, call a professional before you make it worse or make it dangerous.
Gatewood Fence & Gate offers free estimates in Beverly Hills, and the owner is still the one who answers when the question gets technical. We will give you a written price before any work starts, and you can hold us to the 90-Day Done Right Promise in writing. Call (559) 844-6989 to talk through what’s happening with your gate, and we’ll tell you straight whether it’s a DIY job or a “let me come take a look” job.
Frequently Asked Questions
Listen and watch. If the operator makes no sound at all, it’s likely electrical: power, a breaker, a board, or a dead remote. If the operator hums or clicks but the gate doesn’t move, the problem is usually mechanical: a bind in the track, a bad capacitor, or a stripped gear. If the gate starts to move and then stops or reverses partway, it’s likely a sensor or limit-switch issue. That simple three-part triage will get you further than most people get before the first phone call.
UL 325 is the national safety standard for automatic gate operators, and it requires entrapment protection so that your gate cannot injure a person or pet. In California, operating a gate without compliant entrapment protection is a genuine liability risk, not a theoretical one. If you don’t know whether your gate meets the current standard, have a professional test it. This is the one area where “it still works” is not the relevant question.
Small mechanical repairs like hinge adjustments and hardware replacement generally run $150 to $400, while post replacement and structural welding can run $400 to $900 depending on the size and condition of the gate. Operator repairs like capacitors and limit switches are usually $150 to $300, and a replacement circuit board is typically $250 to $600. Every job should be priced in writing before work begins. Call (559) 844-6989 for an exact quote on your gate, with no trip charge inside the county.
Yes, in most cases. Opening the operator cabinet to replace a board, change a fuse, or rewire a connection is exactly the kind of work that manufacturers like LiftMaster, FAAC, BFT, and Mighty Mule use to deny warranty claims, especially when the work wasn’t done by a qualified professional. If your operator is under warranty, treat internal repairs as warranty work and call a licensed technician. The warranty survives professional service; it doesn’t always survive a curious homeowner.
Tension or torsion springs, if your gate has them, carry stored energy that can cause serious injury or death if they release while you’re working on them. On operators, the capacitor inside the cabinet holds a charge that can deliver a severe shock even after the unit is unplugged. Both of these are on our no-exception list for a reason. If you’re not trained, the answer is to keep your hands off both of them.
A structural weld repair on a steel gate, done correctly, should outlast the paint job over it, which in this sun usually means coating touch-ups every few years. Hinge and roller replacements should give you years of quiet operation if the gate is lubricated monthly. Operator board repairs should last as long as the original board did. The climate is tough on coatings and lubricants, but it does not have to be tough on a properly done structural repair, which is what the 90-Day Done Right Promise exists to back up.
The Bottom Line
The DIY-versus-professional question on a Beverly Hills gate is not about pride and it’s not about savings. It’s about knowing which components are forgiving when you get them wrong and which components aren’t. Lubricant, batteries, remotes, and photo eye lenses forgive mistakes. Hinge posts, welds, springs, capacitors, and entrapment protection don’t, and when they fail, the failure is not just expensive. It’s dangerous. Fix the simple stuff yourself, and feel good about it. For more guides & resources, explore our blog. For everything that carries weight or carries current, call a professional who has been doing it since 2001, and ask for the price in writing before any work starts. That’s the whole decision, and it’s not a hard one once you know where the line is.
Written by Hal Gatewood, Owner at Gatewood Fence & Gate, serving Beverly Hills since 2001.